skip to main
|
skip to sidebar
Thursday, January 5, 2017
Japan - Ikebukuro & Akihabara
Saturday, December 31, 2016
Welcoming 2017
From my family to yours a blessed 2017...
"...always hopeful..." Psalm 71:14a
Wednesday, March 23, 2016
USA - Atlanta, Georgia
Tuesday, February 16, 2016
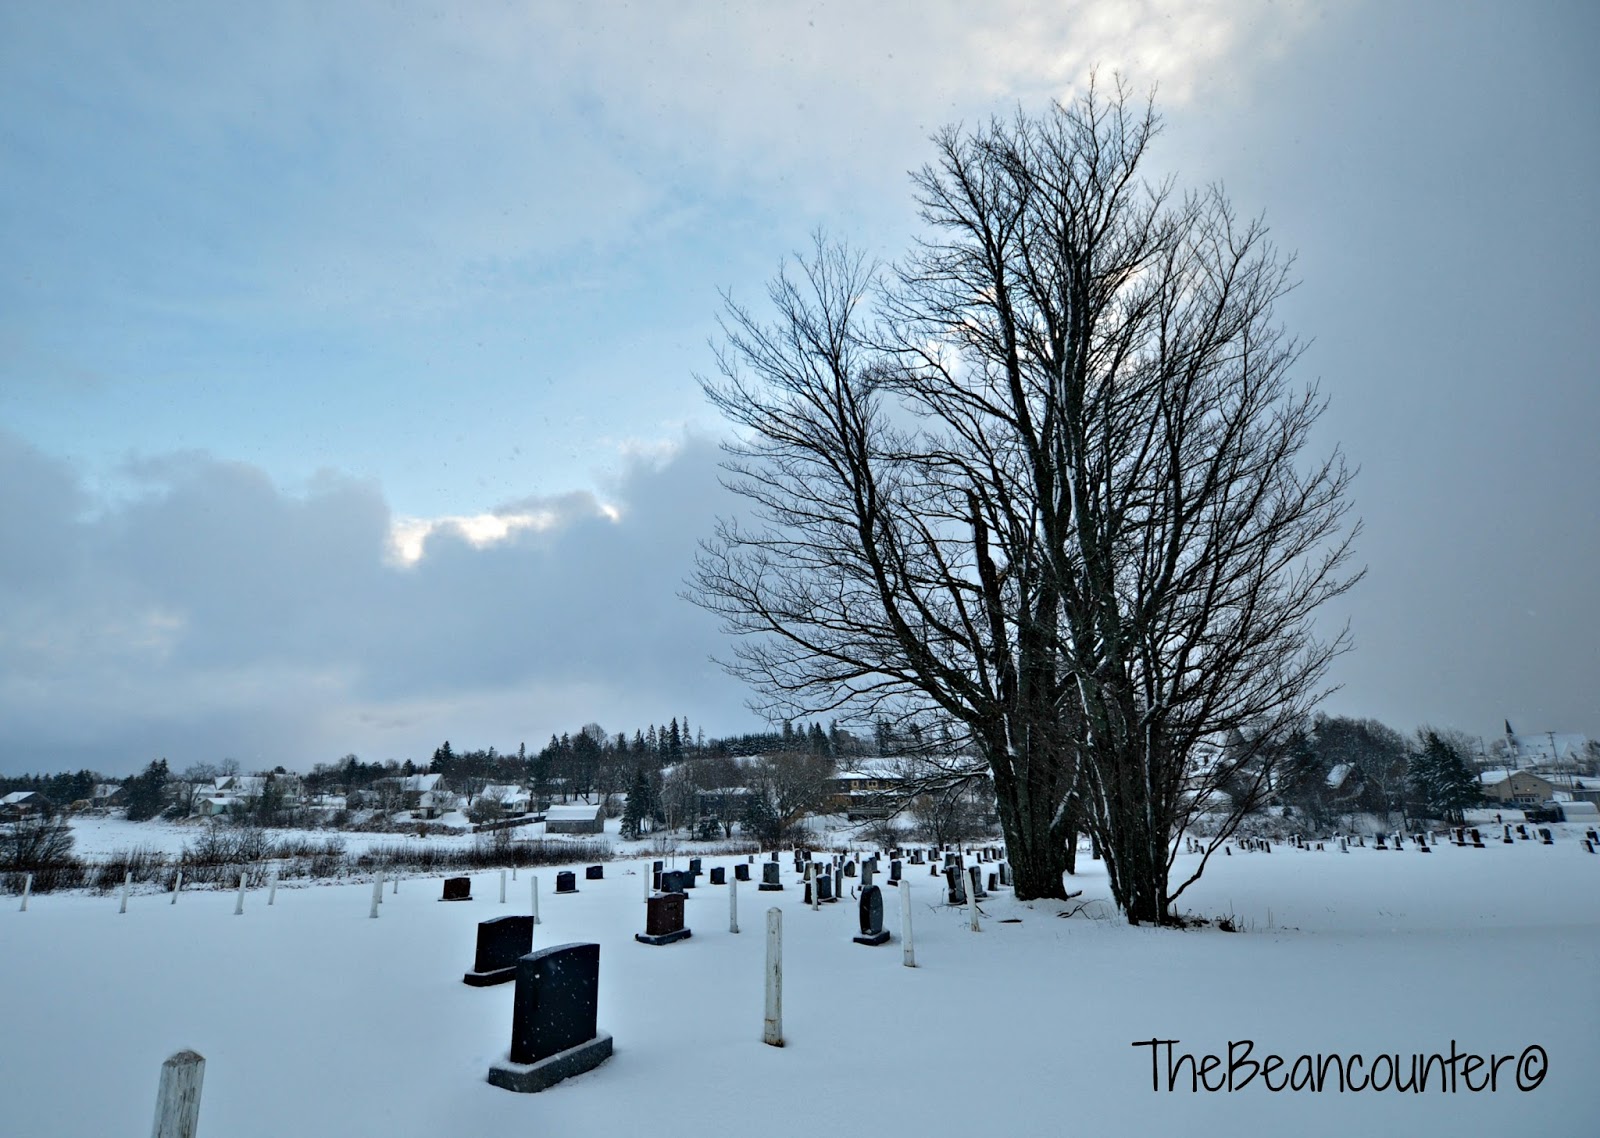
CANADA - Prince Edward Island in Winter
Monday, February 1, 2016
CANADA - Prince Edward Island on a Sunny Day
Saturday, January 16, 2016
Travelling to Prince Edward Island, Canada
Sunday, December 27, 2015
Qantas Business Class - BNE to LAX
Wednesday, November 4, 2015
JAPAN - Disney Sea
Older Posts
Home
Subscribe to:
Posts (Atom)
The Foodie Blogroll
AUSTRALIAN FOOD BLOGGERS
Australian Food Bloggers Ring
list >>
random >>
join
Site Ring from Bravenet
Subscribe To
Posts
Atom
Posts
All Comments
Atom
All Comments
Followers
Categories
2016
(1)
2017
(1)
A330
(1)
Air
(1)
Air Canada
(1)
Airline
(9)
Airline Meals
(7)
Airplane
(1)
Airport
(1)
Akihabara
(2)
Anniversary
(3)
Asia
(1)
Atlanta
(1)
Australia
(17)
award
(1)
Azalea
(1)
Baon
(8)
Beef
(12)
Belgium
(1)
Big Ben
(1)
Birthday
(15)
Biscuit
(2)
Biyahe
(27)
blog
(5)
BNE
(1)
Books
(3)
Bread
(11)
Breakfast
(11)
Bridge
(1)
Brisbane
(3)
Bruges
(2)
Brugge
(2)
Buckingham Palace
(1)
Buhay Bahay
(27)
Business Class
(2)
Cabin
(1)
Cake
(15)
Canada
(3)
CDG
(1)
Champs Elysees
(1)
Charles de Gaulle
(1)
Charlottetown
(2)
Cheap Eats
(5)
Chicken
(10)
Chinatown
(2)
Chinese
(10)
Chocolate
(6)
Chocolates
(1)
Christmas
(4)
Class
(1)
Coffee
(2)
Comfort Food
(5)
Cookbook
(2)
Curry
(6)
Day Trip
(4)
Dessert
(22)
dinner
(5)
Disney
(1)
Disney Sea
(1)
Disneyland
(3)
Drink
(4)
Easter
(2)
eating your words challenge
(1)
England
(3)
English
(5)
Environment
(2)
Essex
(1)
Europe
(16)
Eurostar
(1)
Family
(31)
Family Vacation
(1)
Fast Food
(2)
Festival
(2)
Filipino
(46)
Filipino restaurant
(4)
Film
(4)
Fish
(3)
Flowers
(1)
Food
(2)
Food Porn
(1)
France
(2)
Fruit
(14)
Galleries Lafayette
(1)
Games
(1)
Garden
(2)
General
(256)
George Eliot
(1)
Georgia
(1)
GFC
(1)
Gifts
(3)
Godiva
(1)
Greek
(1)
Green Park
(1)
Harrods
(1)
Health
(8)
Herbs
(1)
Holiday
(18)
Home Life
(49)
Horses
(1)
Hotel
(6)
Ice Cream
(1)
Ikea
(1)
Ikebukuro
(1)
Indonesian
(2)
Instagram
(1)
Italian
(4)
Japan
(6)
Japanese
(7)
Kalusugan
(8)
Kids
(9)
Knightsbridge
(1)
Laguna
(3)
Lamang Isip
(12)
LAX
(1)
Leftovers
(2)
Lent
(1)
Lighthouse
(1)
London
(4)
Los Angeles
(1)
Louvre
(1)
Low Carb
(1)
Lunch
(12)
Malaysian
(5)
Masterclass
(1)
Metro
(1)
Modern Australian
(7)
Movie
(1)
Museum
(2)
Nagcarlan
(1)
Name change
(1)
Narita
(1)
New Year's Eve
(1)
Nezu
(1)
Noodles and Rice
(11)
North America
(1)
Nostalgia
(3)
Notre Dame
(1)
Other Food
(8)
Pagkain
(69)
Paris
(9)
Pasta
(4)
PEI
(3)
Pelikula
(3)
Perth
(5)
Petrol
(1)
Philippines
(16)
Photography
(2)
Picadilly Circus
(1)
Pizza
(1)
Ponderings
(18)
Pork
(15)
Prince Edward Isalnd
(3)
Prize
(1)
PYO
(1)
Qantas
(8)
Quote
(1)
Restaurant
(11)
Roast
(5)
Salad
(3)
salt
(4)
Sandwich
(4)
Saturdays
(1)
Seafood
(8)
Singaporean
(8)
Snack
(1)
Snow
(1)
Soup
(5)
Spices
(3)
St Pancras
(1)
Study
(1)
Summerside
(1)
Sunshine City
(1)
Swedish
(2)
Sydney
(4)
Take away
(2)
Tea
(3)
Technology
(3)
Teknolohiya
(1)
Tetsuya
(1)
Thai
(6)
Tokyo
(5)
tools
(2)
Toronto Pearson Airport
(1)
Toshogu
(1)
Trabaho
(48)
Trafalgar Square
(1)
Trains
(1)
Travel
(52)
Trip
(2)
Tuesday
(1)
Turkish
(1)
Ueno
(1)
UK
(3)
Underground
(1)
USA
(2)
UWA
(1)
Vacation
(12)
Valentine's Day
(2)
Vegetables
(11)
Vegetarian
(5)
Vietnamese
(9)
Weekends
(4)
Westminster
(1)
Winter
(6)
Work
(50)
Workshop
(1)
Yum Cha
(2)
YYG
(1)
Other Foodies
Birth, School, Work, Death
Burnt Lumpia
BUSOG! SARAP!
EatingAsia
Grab Your Fork
inuyaki.com
Joelen's Culinary Adventures
Kusina ni Manang
Market Manila
myfilipinokitchen
Panlasang Pinoy
Recados Filipinos
Satisfy My Soul
Souvlaki for the Soul
Tangled Noodle
Other Sites I find Interesting
Picnik
Omiru
The Sartorialist
Blog Archive
▼
2017
(1)
▼
January
(1)
Japan - Ikebukuro & Akihabara
►
2016
(5)
►
December
(1)
►
March
(1)
►
February
(2)
►
January
(1)
►
2015
(25)
►
December
(1)
►
November
(1)
►
October
(1)
►
September
(3)
►
July
(3)
►
June
(4)
►
May
(2)
►
April
(5)
►
March
(4)
►
February
(1)
►
2013
(10)
►
December
(2)
►
September
(1)
►
August
(2)
►
July
(4)
►
January
(1)
►
2012
(3)
►
May
(1)
►
April
(1)
►
January
(1)
►
2011
(17)
►
November
(1)
►
August
(2)
►
July
(2)
►
June
(2)
►
May
(2)
►
April
(5)
►
February
(1)
►
January
(2)
►
2010
(54)
►
December
(3)
►
November
(3)
►
October
(4)
►
September
(3)
►
August
(4)
►
July
(4)
►
June
(2)
►
May
(5)
►
April
(5)
►
March
(7)
►
February
(5)
►
January
(9)
►
2009
(78)
►
December
(2)
►
November
(5)
►
October
(9)
►
September
(5)
►
August
(5)
►
July
(4)
►
June
(8)
►
May
(5)
►
April
(7)
►
March
(9)
►
February
(10)
►
January
(9)
►
2008
(94)
►
December
(7)
►
November
(10)
►
October
(16)
►
September
(15)
►
August
(9)
►
July
(15)
►
June
(6)
►
April
(6)
►
March
(4)
►
February
(6)
About Me
The Beancounter
I'm a husband and father who's passionate 'bout food and all its facets...
View my complete profile